Part 1: Provisioning an instance
Part 2: Setting up a project (this post)
But first, what does "project" mean in the XM Cloud portal?
A project in XM Cloud is referring to a single Sitecore instance. That one project might have multiple sites in the content tree just as we are used to with "on prem" Sitecore versions. The XM Cloud project typically will have one production instance and a number of non production instances. So basically what we are used to when working with a Sitecore project in the old fashioned way ;).
So let us create a project:
Go to "Manage my projects" and click on "Create new project". A prompt will ask if the new project should be created based on an existing XM Cloud code base (maybe you have already done some work offline before connecting with XM Cloud portal) or if you want to use a starter template. There will be more choices in the future.
I am going to choose the starter template as I have no existing XM Cloud repo in my GitHub
This template gives me a very simple sample site with a few components built in Next.JS. It is highly likely that the options to choose from has changed the next time I do this as the product team is working on more starter templates.
When clicking next, step 2 is to choose the project name. This would typically refer to the actual site(s) being build in the project. So if it is the company main site the project is for, using the name of the company would be obvious like "mycompany-website" or similar.
Step 3 is choosing the repo the project should connect with. For now GitHub is available, but more. like Azure Devops, is on the roadmap. You can use any repo with XM Cloud, but that would require manual configuration for now.
In step 4 it is possible to choose from already connected GitHub accounts or set up a new connection.
When setting up a new connection, the guide will ask you to authenticate that the Sitecore deploy app gets installed in your GitHub account.
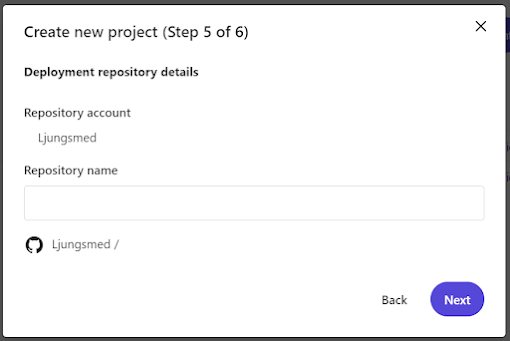
After connecting to a Github account, step 5 is to choose a name for your Repo in GitHub
Last step is to choose the environment name, like "test", "qa", "production", etc. and then choose if it is a production environment or not and if an automatic deploy should happen when committing to the chosen branch the environment points to.
That is all to get a new instance live in XM Cloud and a code repo created as well. Now the full repo is available in GitHub and developers can clone and work with the project locally by enabling the docker container that the repo contains by default. This will be the focus of the next post in this series ;)


